So now on to the scary part. Taking the diaper apart. (If you are just joining us, please check out Part I)
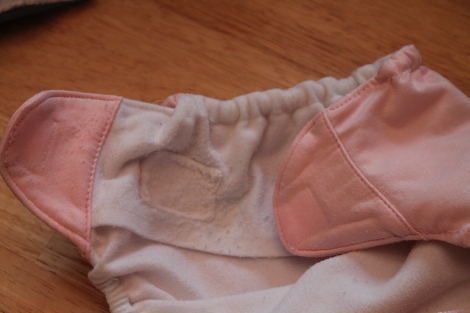
First step, remove all of the old hook and loop tabs. Lots of seam ripping, but very doable. Try to avoid snagging the stretchy tabs whenever possible, as it will weaken the diaper. (Don’t worry, I snagged mine a few times, it’s unavoidable sometimes unless you are an expert seam ripper.)
Second step, this was the big one, open up all the seams (both inside and out) to remove the front loop strip. Start by ripping out the stitches on the front loop itself. Then take out the stitches at the top of the diaper. This will help you to see whether your PUL is already in two convenient pieces of whether you will have to cut it.
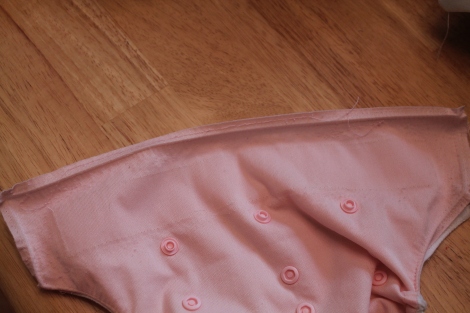 This whole process was terrifying. I found a great youtube video that walked me through it. Unfortunately the video didn’t document putting the diapers back together as well as I would have liked so I kind of had to fudge it. Having to cut the PUL on the top edge of the diaper on all the 3.0s and some of the 4.0s scared me. I kept telling myself that at this point I had nothing left to lose. I did cut a lot of them crooked, which made reassembling harder, but I did get better at it as I went along.
Ripping out the top seams and part way down the side seams of 28 diapers was a very long process that I did while watching TV in the evenings over the course of weeks. It was frustrating as it led to lots of loose bits of thread all over my house. This was one point where I was almost ready to pack it in. If you feel that way now, try and persevere. The good part is coming.
Reassembling the Diaper
I found it easier to reassemble the diaper in the following way:
Replace elastic
Attach front loop strip
Reassemble diaper
Sew on new laundry tabs
Attach new hook and loop tabs
Sew the ends of the leg and back elastic channels where elastic was replaced.
Replacing Leg and Back Elastic
The first few times I replaced leg elastic I tried to use the sewing machine. This was a disaster. Finally a friend suggested that I sew the elastic on by hand, using a thimble if needed. I quickly realized that she was right.
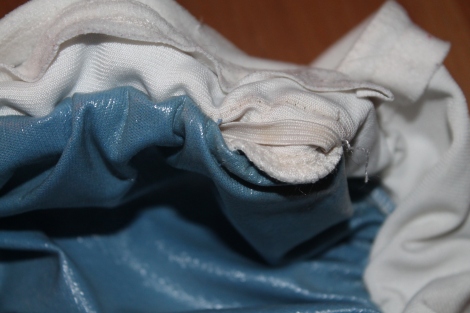
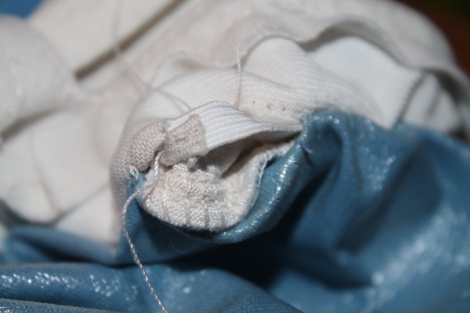
The below pictures are of replacing the back elastic, but it works pretty much the same regardless of it you are replacing the back or leg elastic.
Sew the new elastic to the old elastic as close where it is attached as possible.
Use a seam ripper to pull out just enough stitches to expose the elastic on both ends. Turn the diaper inside out.
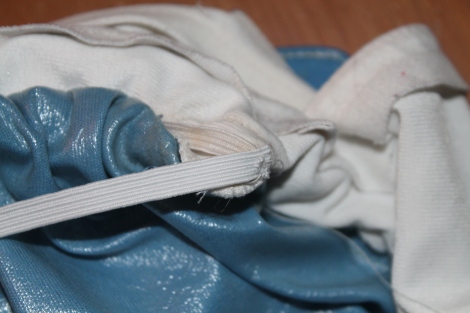 Then cut the old elastic. Secure the detached end of the new elastic to the detached end of the old elastic with a safety pin.
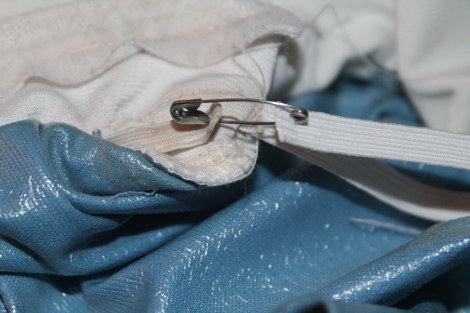 Pull on the attached end of the old elastic until the safety pin comes through the channel dragging the new elastic. Then remove the safety pin, attach the loose end of the new elastic and then clip off the last of the old elastic.
Sewing on new front loop strip
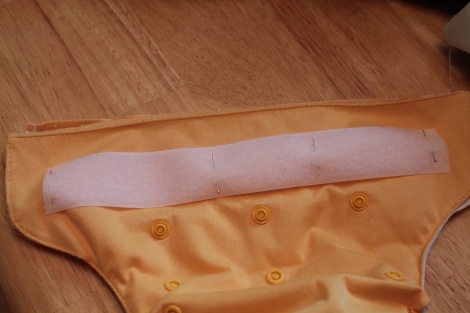
This can be scary, but really isn’t so bad. Use the old strip as your model for cutting a new strip of loop. I like to cut mine a little long. If you have as many diapers to replace as I did, I recommend cutting several strips at a time so you have a stack ready.
I’ve seen demonstrations pinning the elastic on with the pins running in either direction. I used the typical rule and pinned in the short direction. I tried pinning just the ends initially but it led to too much bunching when I tried to sew.
The hardest part of sewing on the new front loop strip is keeping the nylon sheet the goes behind the loop strip from getting sewn into the loop during reattachment. It is a pain, but doable. I’ve had to rip out a few and redo them, but ultimately no permanent harm was done. It might be worth using a safety pin to hold it out of the way. Better one or two holes then a whole row of holes from stitching through the vinyl.
Sewing the Diaper back together
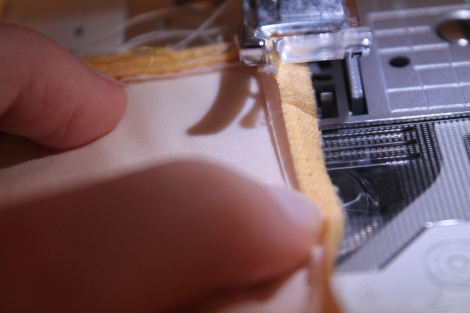
Restitching the hems on the interior sides (this can be done in several different ways depending on how you choose to do it). Mine had fairly intact creases so I just lined up the fabric, folded it over, and let the presser foot hold it in place while I sewed the sew. It wasn’t the easiest and it definitely led to some crooked seams, but so far it hasn’t affected the functionality of the diapers.
Then turn the diaper right side out and stitch the side and top seams.
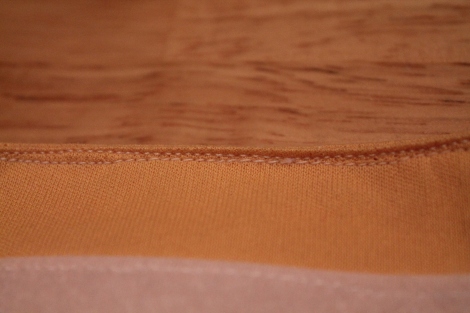
This image beautifully highlights my crooked top stitching, but the diapers do work, so I guess that’s all that matters.
I debated whether to serge (well, really just zig zag stitch since I don’t own a serger) the inside seams after I top stitched the outside, but it seemed like to created more problems than it prevented.
In Part 3, I’ll cover sewing on new laundry tabs, attach new hook and loop tabs and sewing the ends of the leg and back elastic channels where elastic was replaced. Stay tuned.






Why can’t you sew through the nylon layer? The snaps are through it, so I would think it wouldn’t be a problem sewing through it too.
I suppose you could, but my understanding is that the fewer holes you put in the nylon layer the better to reduce the future chance of leaks.